Prospect Hunter
In this quick step guide you will learn how to use Prospect Hunter.
-
Connect Prospect Hunter enables you to explore potential distributor clients whom meet your specific criteria. Then, you can download those results in a printable marketing list.
To access Prospect Hunter, go to the Advanced Search.

Enter search criteria and then click on Search.
Up to 2000 records will appear in the Advanced Search Results screen. The option to download all results with Prospect Hunter is available, enabling you to purchase important information for all matching records.

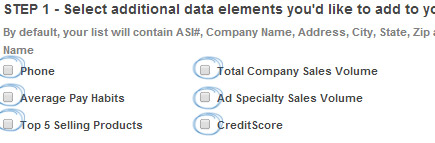
After clicking on the Prospect Hunter button, you can select if you would like to have additional data included in your marketing list. By default, the lists contain the distributor ASI number, company name, address, city, state, zip code and primary contact name.
You can just check the box to include the following data:
- Distributor phone number(s)
- Average pay habits
- Top 5 selling products
- Total company sales volume
- Ad specialty sales volume
- CreditScore
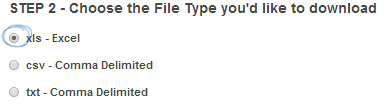
Next, select the file format you would like to download: • .xls – Excel • .csv – Comma Delimited • .txt – Comma Delimited
Note: The default, .xls - Excel, is automatically selected.
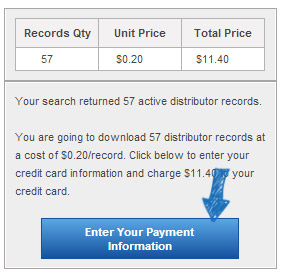
After making your selections for the data you would like included, you are ready to purchase the list. The number of records, unit price and total price appear with an explanation of the list cost. Click on the Enter Your Payment Information button confirm payment and list details.
You will be able to review your selected additional data elements and file type prior to placing your order. Credit card information can be saved for future purchases. Prospect Hunter accepts all major credit and debit cards.
If you have not purchased a list before, you will need to add credit card. Enter the pertinent information into the available fields. The Card Verification Value (CVV), a 3-4 digit number on the back of the card (sometimes known as the CID or Card Identification number) is required for additional security.
Note: If a card is saved, the most recently used card appears at the top of Your Saved Credit and Debit Cards and is selected by default. To add a new card, click on the Add A New Card button.

After clicking on the Terms & Conditions link, check the box to acknowledge acceptance.
You are also able to check the Save this card for future purchases box to save this card’s information for future list purchases.
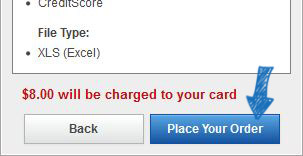
After confirming the order amount, additional data elements and file type, click on the Place Your Order button.
After placing your order, you will see a green bar confirming your purchase.
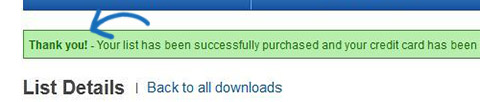
The transaction details as well as your specified search criteria will be displayed.
Scroll down on this page to view the payment information and the Download List button.
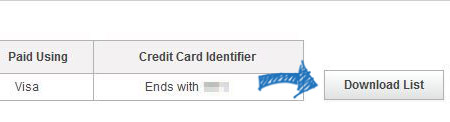
After clicking the Download List button, you will be prompted to open or save the list. This will save the list onto your computer. The list itself will be saved and available for access and re-download for 90 days from the date of purchase.
To access downloaded lists, click the Settings tab in the main navigation bar and then click on the Download Manager link.

Downloaded lists are displayed according to the date they were downloaded, with the most recent shown first.
You are able to sort the lists in the Download Manager by clicking on the heading. You can sort in an ascending or descending alphanumeric fashion by:
- Transaction ID
- Date of Download
- User (Who downloaded the file)
Clicking the Transaction ID link opens each download’s List Details. As with the initial download, the list can be downloaded again by clicking the Download List button.