ESPWeb: Adding & Managing Projects
In this quick step guide you will learn how to add folders, as well as manage your existing files. To begin, use the menu below.
-

ESP Projects is similar to an electronic filing cabinet where you store your customer's folders, products and presentations.
Also, if you were a user of ESP Online, your ESP Online projects and presentations will be available here.
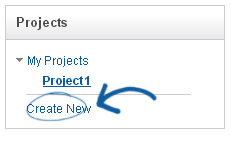
Click on the Projects Button in the application toolbar.

-

To add a folder to My Projects, click the Create New link.
 New Project Window
The New Project window opens and you can name your project. Check the nest under box and select an existing folder if you wish.
If you check the Nest Under box, you will need to select an existing project folder from the dropdown. Then, click on OK.
-

Add additional information to your project such as Customer Name, Date the Project is Due and notes about the project.
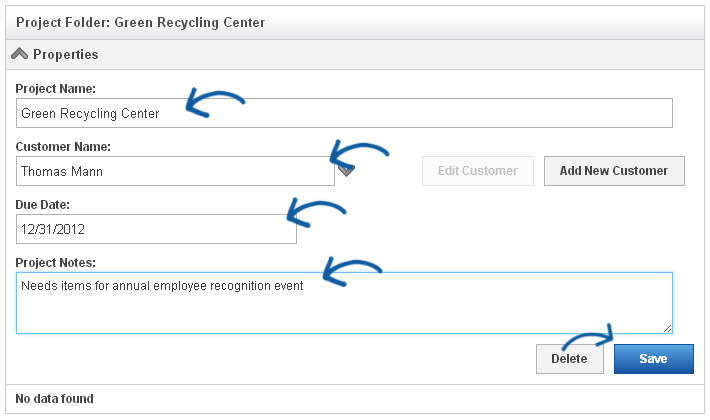
- Note: You only need to click on Save here if you have entered additional details.
Additional OptionsTo create a sub folder for a project folder, you can follow the same process as adding a new folder. Click the Create New link again and nest the new project under the folder to which you would like to add a subfolder.
To delete a folder, select the folder and then click Delete in properties.
- Note: By deleting a folder, all products, presentations and subfolders will also be deleted.