Preferred Suppliers: Settings
In this guide you will learn how to set preferences for your Preferred Suppliers. To begin, use the menu below.
-
Viewing and Editing Settings
To access the settings in the Preferred Suppliers Admin, click on the Settings link from the List Manager.

-
In the Settings area, you will be able to view your existing preferences such as the default list ranks for ESP Web and ESP Online, as well as for ESP Websites. You can also view the list conflict and notes settings.
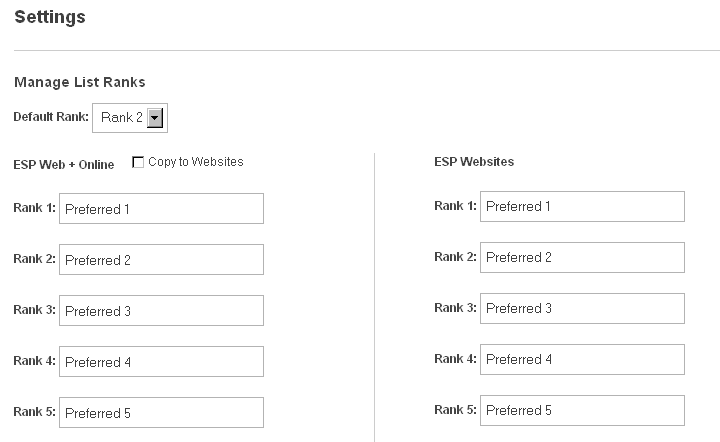
In this area, you are able to manage the default rank, rank names, list conflict settings and notes settings. To begin updating your settings, click on the Edit button.
After clicking on Edit, all the available fields will open in an editable state. You can change the default rank by using the dropdown. The default rank is the rank level that suppliers will automatically be assigned when they are added to a new list.
You can modify the names of the rankings to reflect the levels that would best suit your company (Platinum, Gold, Silver). These levels can be copied so that they will display on your ESP Website, or you can create a different set of rankings which may be more client-friendly. For example, your clients may not understand what Platinum means, so instead, you can use Customer Favorite or Best Seller.
Click on the Save button at the bottom when you are finished.
-
List Conflict & Notes Settings
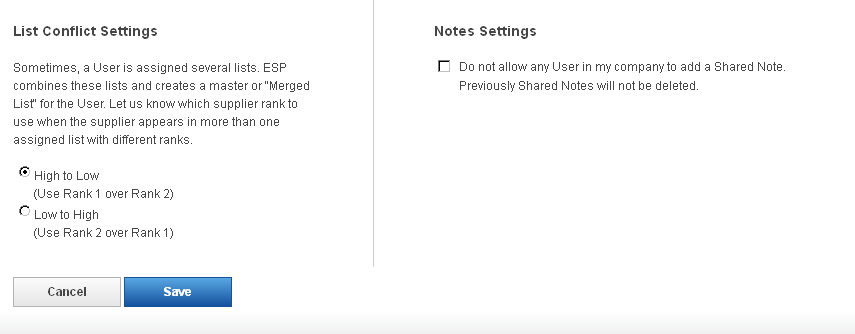
Occasionally, a user may be assigned more than one preferred supplier list. In these cases, if one list has a supplier rank of 2 and the other has the same supplier ranked as a 1, you are also able to specify which ranking you would like to refer to, the higher rank or the lower one.
To set up this option, just click the radio button next to your choice (High to Low or Low to High).
You can also select whether you would like to enable individual users the ability to share notes. Shared notes are entered by users (administrators and standard) and available for all users in the company. By checking the “Do not allow any user in my company to add a Shared Note” box, notes for all users in the company will be managed solely by administrators.
Click on the Save button when you are finished.