ESP Websites Design Studio: Banners
In this quick step guide you will learn how to add/edit and create your own banners.
-

-
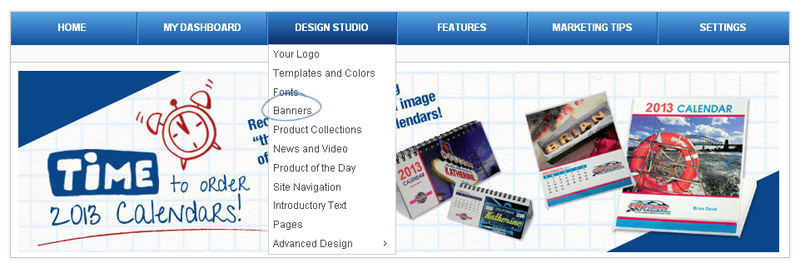
To access the Banners, select Banners from the Design Studio dropdown.
-

What's Covered:
-
Banner Area Options
The Banners area enables you to select from three options:
- I don't want to select banners. Let the system select for me
- I want banners only from my preferred suppliers. Let the system select for me
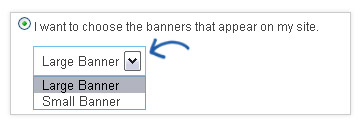
- I want to choose the banners that appear on my site.
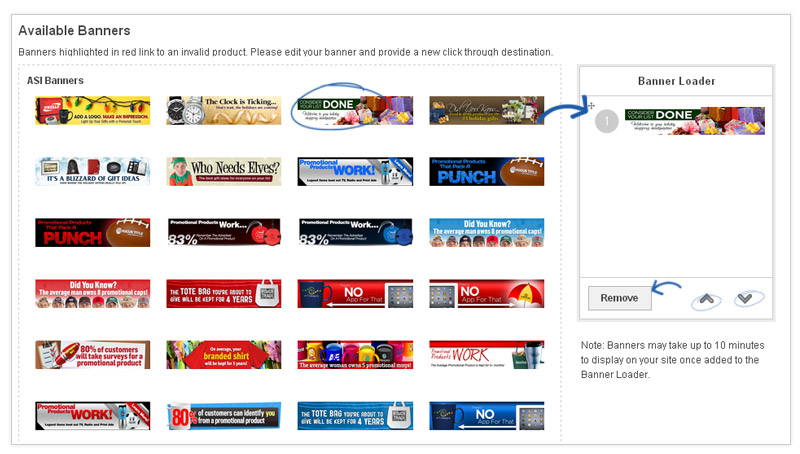
If you select the third option, "I want to choose the banners that appear on my site", you will be able to select and organize the banners that will be displayed on your site. Then, drag and drop banners from the Available Banners area into the Banner Loader.
- Note: Banners may take up to 10 minutes to display on your site once added to the Banner Loader.
-
Large and Small Banners
After selecting "I want to choose the banners that appear on my site" you have the option to choose a Large Banner, or a Small Banner.
What's the difference? The small banner is 110 pixels shorter than the large banner. If you're interested in keeping your content close to the top of the page but still want to display banners this is a good option for you!
- Large Banner: 914 pixels wide x 218 pixels high
- Small Banner: 914 pixels wide x 108 pixels high
After you've selected whether or not you want to display a large banner or a smaller banner, if you don't have any banners of your own you can select and/or rearrange the banners available.
You will see the following options:
- Company Banners
- Personal Shared Banners
- Personal Banners
- ASI Banners
-
Selecting a Preloaded Banner
To add your banners to the Banner Loader, all you have to do is click on the banner, and drag it from the list of Available Banners into the Banner Loader. Click here to see a demo of this really nifty feature in action! After you have added up to four banners, you can re-order them in the banner loader. There are two ways to do this:
- Drag and drop the banners into order by clicking on the plus symbol (located in the upper left corner of that banner)
- Click on a banner and then use the up/down arrows to move it to the desired position
To remove a banner from the banner loader, click on the banner and select remove.
-

-
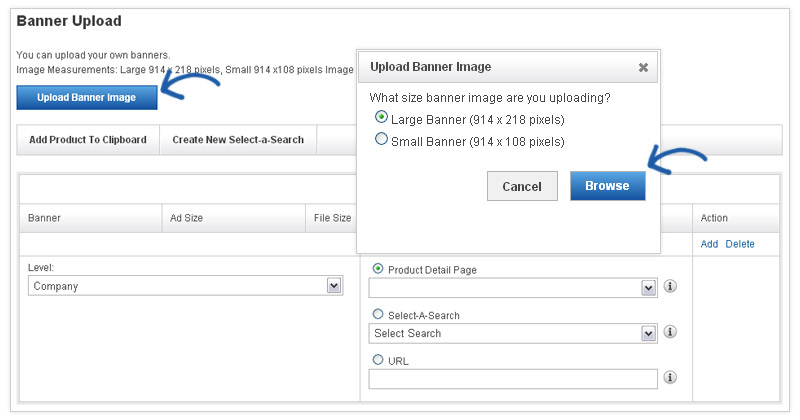
To upload custom banners, scroll down to the banner upload area. Then, select the banner size and click on the Browse button.
Browse your computer and locate the image you would like to use. Select it and click on the Open button.
Select A Level
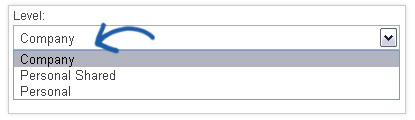
After you upload your image and select your level, you will need to set up the Click-Through-Destination for this banner.
Click here to find out more information about the different levels

What's Covered:
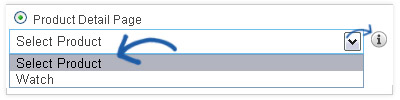
Product Detail Page
This option enables you to link to the product detail page of an individual product. To link the banner to a product detail page, the product will need to be on your Clipboard. Select the "Product Detail Page" dropdown and choose the product.
Add Products to the Clipboard
If you're looking for more information about adding products to the clipboard, click here! For help on the fly, hover over the information icon next to each dropdown.
-
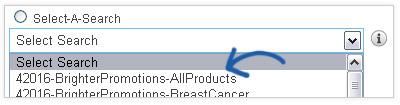
Select-A-Searches
This option enables you to link your banner directly to a Select-A-Search. You can select from your already created Select-A-Searches or create one in this area.
Select-A-Searches are links to already established searches. This link acts as a shortcut for your customers to click on and access products without having to search
Create New Select-A-Search
If you don't see the select-a-search you're looking for in the dropdown menu, click here for more information about creating a new select-a-search. For help on the fly, hover over the information icon next to each dropdown.
Click on Add in the Action area to finish this banner.
-
URL
This option enables you to type or paste a URL for your banner to be directed to. Just select URL and type the web address (ex: http://www.asicentral.com). Click on Add in the Action area to finish this banner.

Finished Linking
After you have finished setting up your banner, it will be appear in the Available Banners area. When you are ready to post your banner, simply drag and drop into the Banner Loader.
Click here to see a demo of this really nifty feature in action! .