ESP Websites Design Studio: Product of the Day
In this quick step guide you will learn how to manage/create the product of the day.
-

-
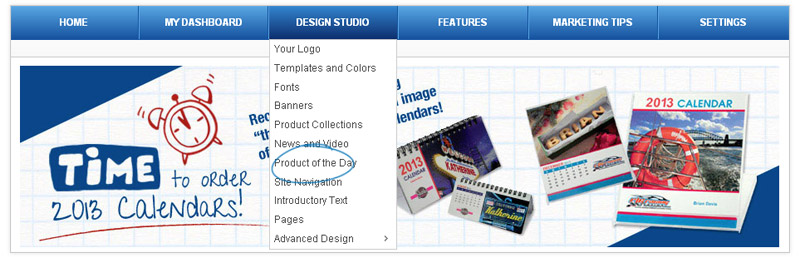
To access the Product of the Day, click on Product of the Day from the Design Studio dropdown.
-

-
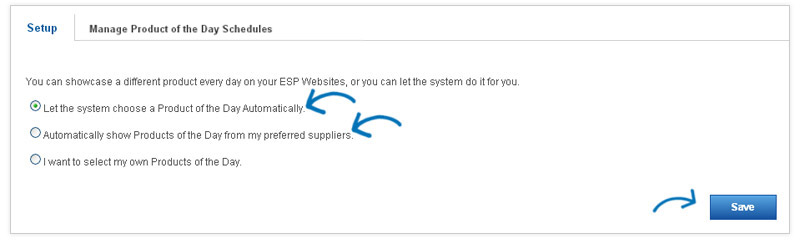
In the Product of the Day section, there are two tabs: Setup and Manage Product of the Day Schedules. Setup is where you can select the options for your Product of the Day.
Set Up Tab
In the Setup tab, if you select: "Let the system choose a Product of the Day Automatically" or "Automatically show Products of the Day from my preferred suppliers", just click the Save button.
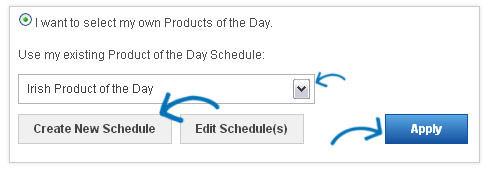
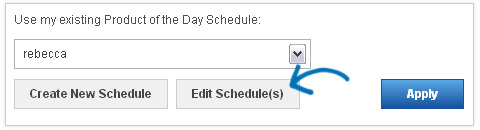
If you select "I want to select my own Products of the Day", another set up menu appears and you will need to select an existing schedule and click Apply, or create a new one.
Manage Product of the Day Schedules
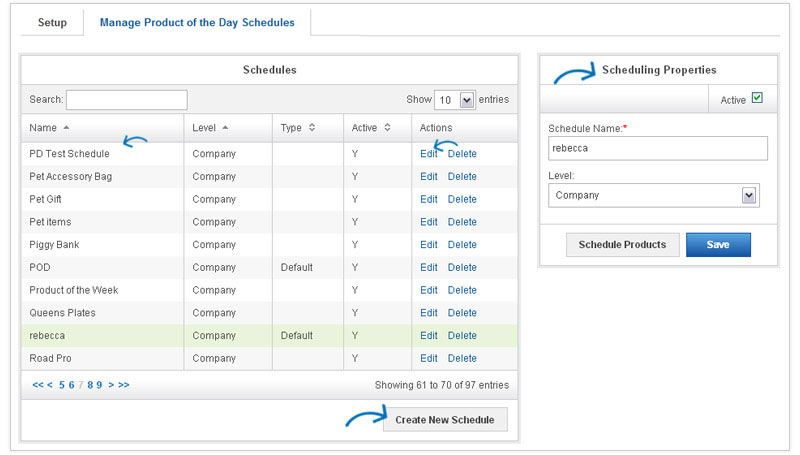
In the Manage Product of the Day Schedules tab, you can view all of the properties associated with all of the current Product of the Day schedules already created. You can also edit or delete a Product of the Day Schedule from here, as well as Create a New Schedule.
-
Create a New Schedule
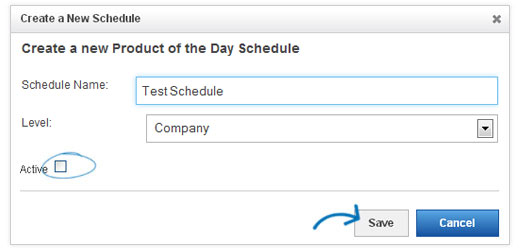
To create a new Product of the Day schedule, click on the "Create New Schedule" button (from either the Setup tab or the List of Schedules tab). A pop-up window will open.
Type the Schedule Name, select a level from the dropdown, and check the Active box. Click on Save after you have entered this information.
-
Edit Schedule
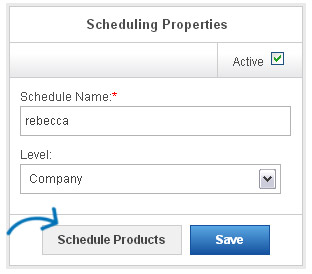
From the Setup tab, you will need to click on the Edit Schedule button, then, in Manage Product of the Day Schedules tab, click on Schedule Products in the Scheduling Properties section. If you created your new schedule from the Manage Product of the Day Schedules tab, simply click onthe "Edit" link in the Actions column.
Schedule Products
Now, you will need to put products into this schedule. In the Manage Product of the Day Schedules tab, click on Schedule Products in the Scheduling Properties section.
-

What's Covered:
-
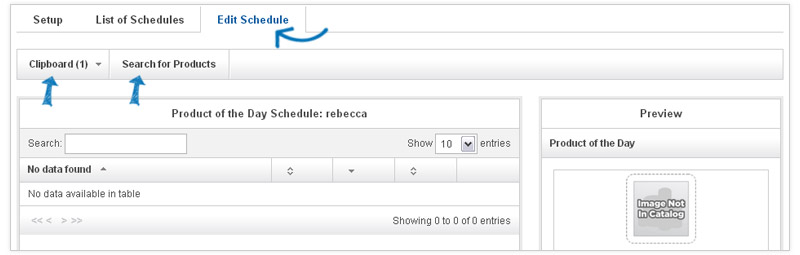
Edit Schedule Tab
Don't be alarmed! A new tab appears, Edit Schedule, now you will be able to add products. Products can be added from the Clipboard. If you do have not already saved the products to the Clipboard, click on the Search for Products button.
-
Adding Products
Adding products is easy! You can either add products from your Clipboard, or Search for Products using the ESPWeb Quick Search.

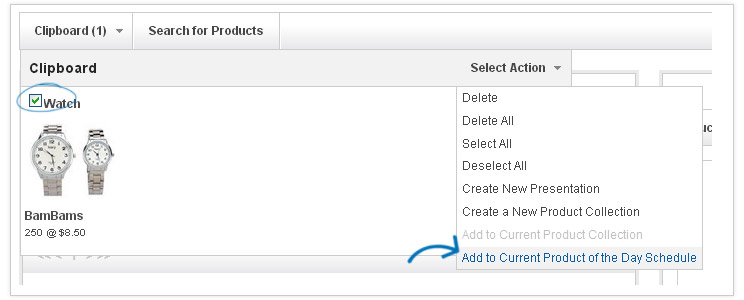
Clipboard
Click here to see how you can quickly and easily add products from your Clipboard!
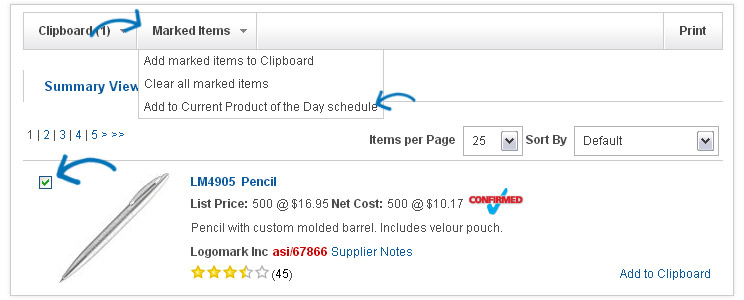
Search for Products
To add a single product, search for the product you would like to use, mark it, and then click on the Marked Items button. Select "Add to Current Product of the Day Schedule" from the dropdown.
After you've marked and added your products, click on the Return to [Design Studio - Product of the Day] link.
-

What's Covered:
-
Setting Start and End Dates
After you've added you're products, it's time to set a start and end date for them. Click on the edit link under actions to set a start and end date.
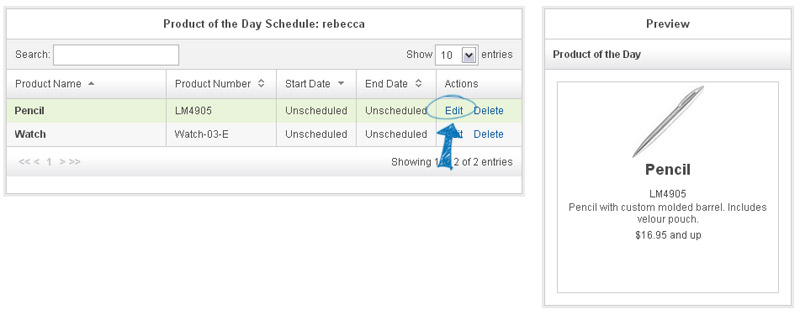
To the right, a preview will be displayed. Directly below the preview will be the Scheduling Properties box.
-
Scheduling Properties
Here, you can enter a start date (date you would like the Product of the Day to begin showing on your site) and an end date (date you would like the Product of the Day to stop showing on your site).
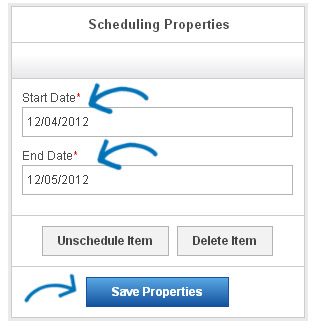
Then, click on the Save Properties button.
Repeat this process for all additional products to build a full Product of the Day schedule.
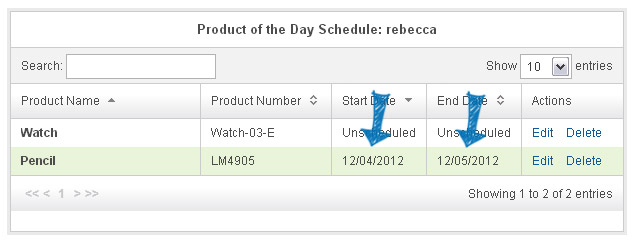
Now, the Product will show with its start and end dates in the Product of the Day Schedule area.
After you have scheduled all of the products in this schedule (skip back to step 1), click on the Setup tab. Select "I want to select my own Products of the Day", choose the schedule from the available listing and then click on Apply.