ESP Website Features: Content Library
In this quick step guide you will learn how to edit and add content.
-

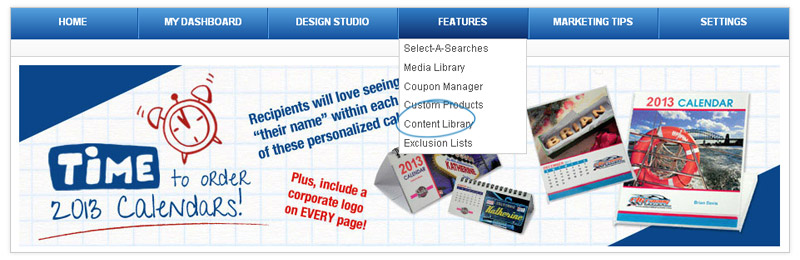
To access the Content Library, click on Features and then click Content Library.
-

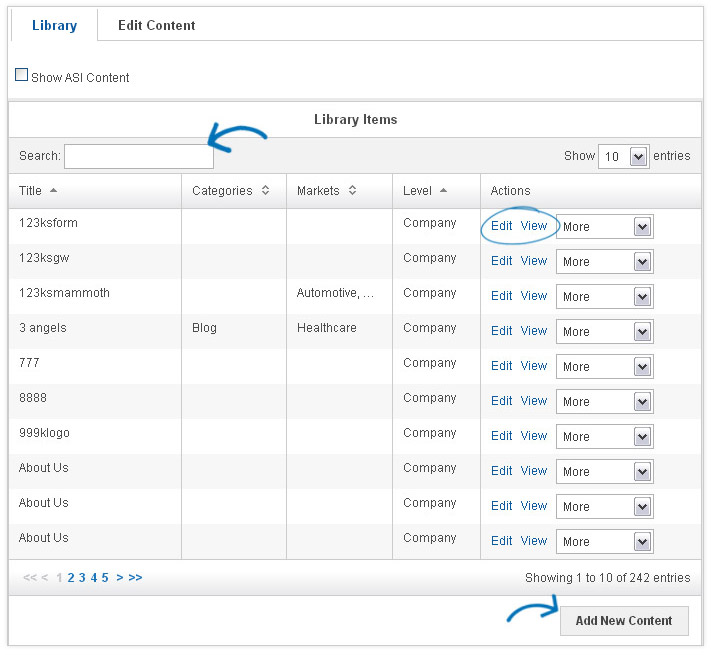
The Content Library is where you can build and house information for use on your site.
In the Library Tab there are several things you can do. You can use the links in the Actions area to edit, view, copy or delete content from the library (the copy and delete options are available in the "More" dropdown).
In this section, you can click on the "Add New Content" button and then build a content page.
-

This tab is where you can either edit an entry already exsisting in your library or build a new content page.
You can type new text or update the existing text by using the toolbar (hovering over the options in the toolbar will let you know what each tool will help you accomplish) or switching to HTML mode. When you are finished making your changes, click on the Save button at the bottom.

-
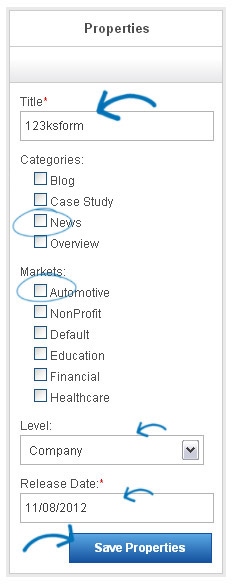
The properties box is where you will name you're new content, or edit the title of exsisting content.
You can also attach your content to specific Markets and Categories.
For example, you have assigned content in the category of "News" and in the "Automotive" market. Now, to make this article appear on any page on your site, you will need to go to the Design Studio - Advanced Design - Manage Pages (link to guide) section to add an Editorial Content module onto the page. Then, you can configure the module to display content that is in the category of "News" and the market of "Automotive" to be sure your article will display.
You can also specify a release date, so that when you do save your content it will be available for use. Remember that when you want this content to no longer display, you can simply come back to it and change the Release Date.
After you've finished making changes, click on the Save button.