ESP Website Features: Media Library
In this quick step guide you will learn how to sort and upload media using the Media Library.
-

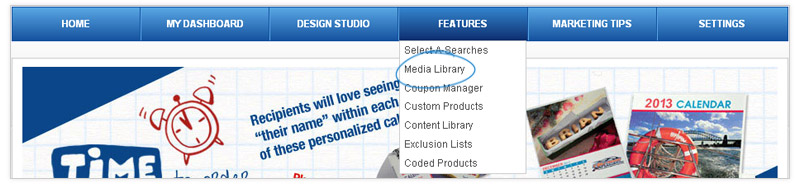
To access the Media Library, click on Features and then click Media Library from the dropdown.
-

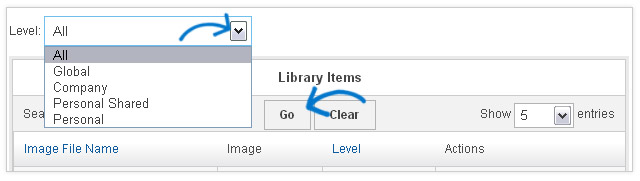
To filter how you view the images, click the dropdown for level and you will see Company, Personal Shared or Personal. Once you choose a filter, you can type the name of an image file into the Search box and click Go. (Click here to watch a short video on sorting and searching images)
Click here to find out more information about the different levels
-

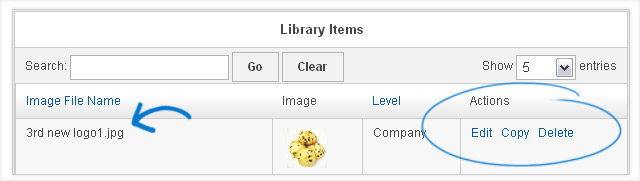
When you find the file, it will display in the Library Items area. In this area, you can see the image file name, image thumbnail, level and actions.
The actions are: Edit, Copy and Delete.
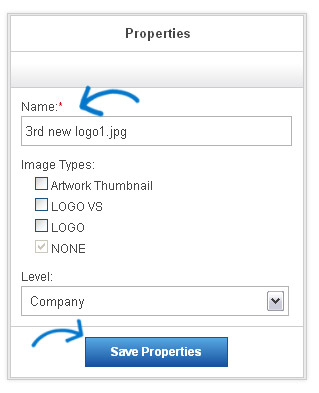
Click the file name or the Edit link (in the Actions section) and its information will populate in the Properties box to the right.
In the Properties box, you can change the file name, label the type of image it is and the level.
Click Save Properties when you are finished.
-
To upload a new image to the Media Library, click the Upload Media button at the bottom of the Library Items listing.
Browse your computer for the media you would like to upload, select it and click on Open.
- Note: The file upload window may look different on a Mac.
Your new file will appear in the Library Items listing.