ESP Website Settings: Display Options
In this quick step guide you will learn about the settings available for display.
-

To access site settings, log into your ESP Website™ admin. Then, select your site from the ESP Websites dropdown menu and click on "Settings" from the Management toolbar.

You can control what can be viewed on your ESP Website™ by clicking on the "Display Options" tab.
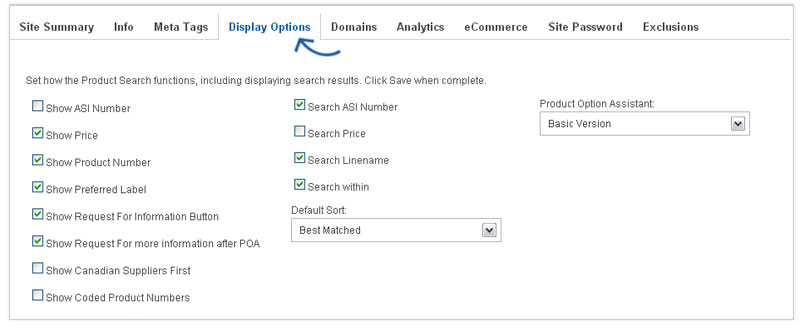
You can use the Default Sort dropdown to change the how search results are sorted on your site. You can select Best Matched, Price: Low to High or Price: High to Low from the dropdown.

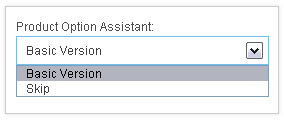
The Product Option Assistant dropdown to select whether to use the Basic Version or skip this option (It is recommend that if the shopping cart is enabled you use the Basic Version).
-

What's Covered:
-
Virtual Samples
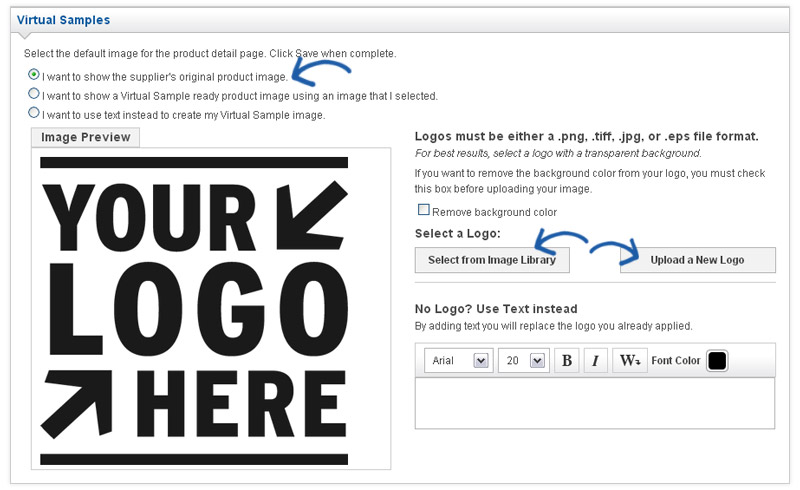
Show Suppliers Original Product Image
The section for Virtual Samples enables you to have all Virtual Sample-enabled products to display with the Supplier's original product image or display with a logo from your Image Library (Media Manager). It is located below the checkboxes.
-
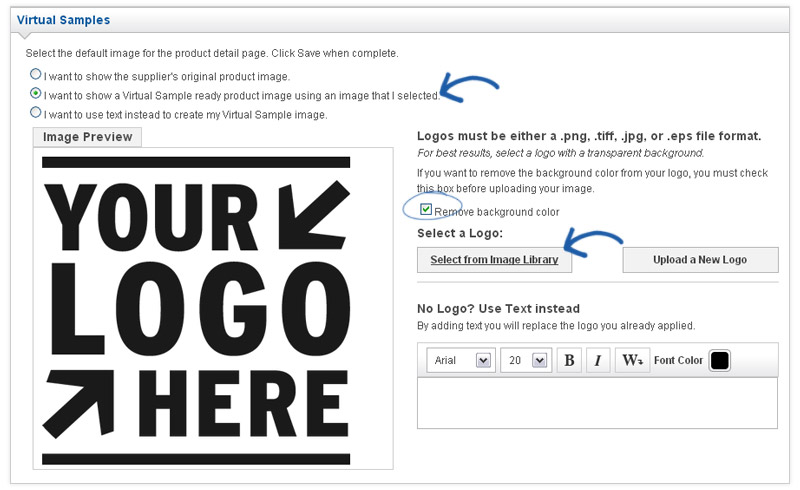
Upload Your Own Virtual Sample Image
To display virtual samples on the product detail pages of virtual sample enabled products, click the radio button for "I want to show a Virtual Sample ready product image using an image that I selected. Then, click the "Select from Image Library" link. It is important to check the "Remove background color" checkbox first before uploading.
Hover on the image you would like to use from the Media Manager and then click on the Select File link.
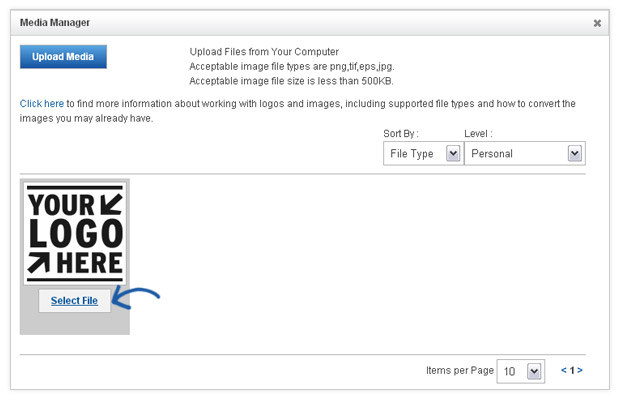
A preview of the image will appear in the Image Preview section.

-
Upload New Logo
You can also use the "Upload a New Logo" button to upload images for use as Virtual Samples. After clicking on this button, the File Upload dialog box appears. Navigate to your logo, select it, and then click Open.
- Note: The file upload window and process looks differently on a MAC.
-
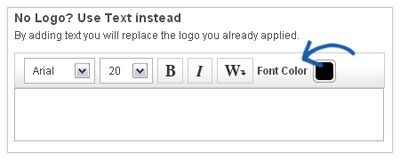
Use Text Instead
If you do not have a logo, you can also select to use text and type your text in the available text box.
When you are satisfied with your selections; click "Save".
Now, the applied appears on virtual sample-enabled products on the product detail page.