ESPWeb: Setting Your Preferences
In this guide you will learn how to set the preferences for your ESP Web. To begin, use the menu below.
-

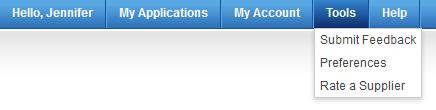
To access the Preferences, click on the Tools button and then select Preferences.
-

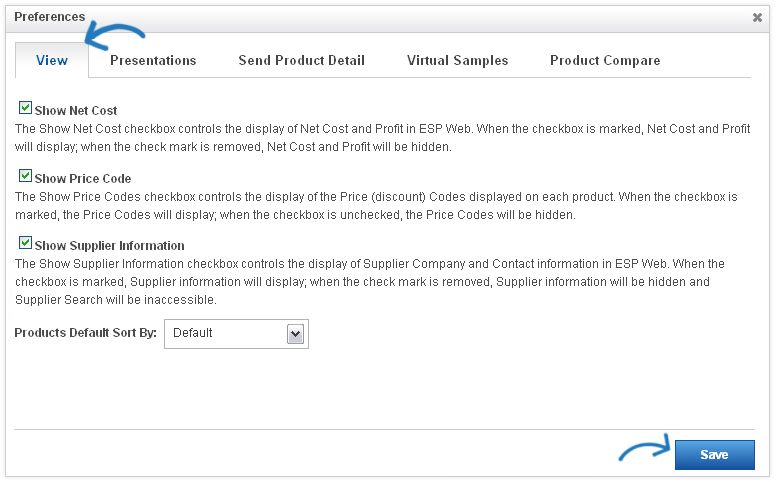
The View tab enables you to select to show the net cost, price codes or supplier information by checking the corresponding checkbox; or uncheck to hide this information. You can also select a default sort by option for your search results.
Click on Save when you have made your selections.
-

In the Presentations tab, you can create defaults for your presentations. There are dropdowns which enable you to select a default layout to use: 1 product per page, 1 product per page with a large image, 2 products per page, or 3 products per page.
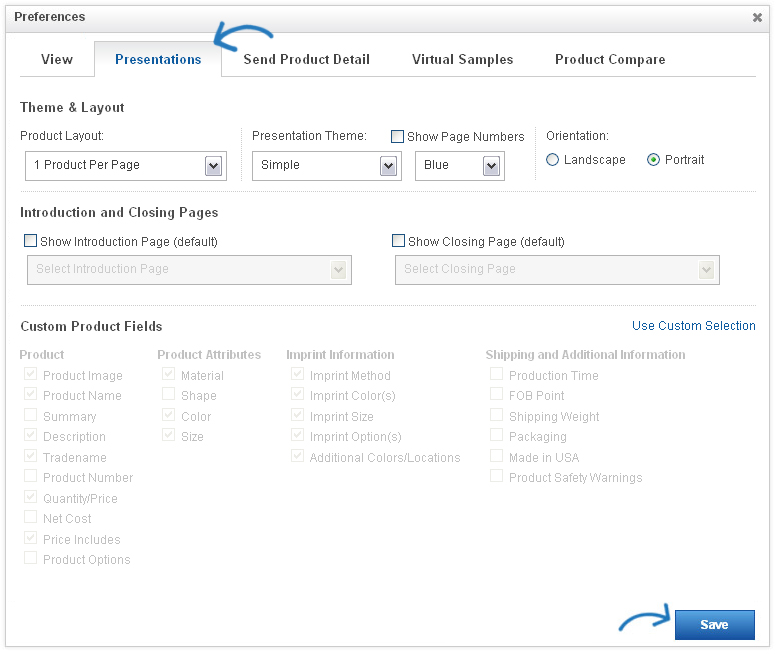
You can also use the dropdowns to select a theme, color or layout options (landscape or portrait). You can check the Show Page Numbers box to display page numbers on your presentation.
You can also click to show an opening and closing page on your presentations. You can check the boxes to "Show Opening Page" or "Show Closing Page" and then use the dropdowns to select which page you would like to use from the dropdown.
The last section, data fields, is where you can select which fields you would like to include in your presentation.
Click on Save when you have made your selections.
-

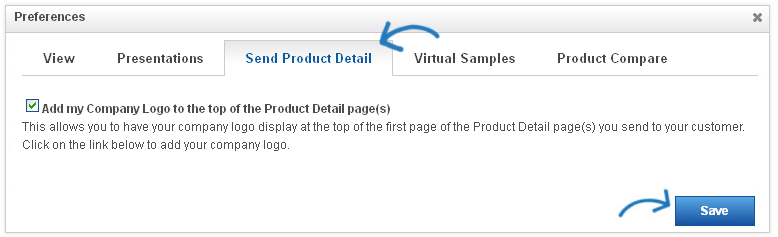
In the Send Product Detail tab, you can choose whether we would like to include your company logo when sending the product detail page. Just check the box to include the logo.
- Note: Company logos will need to be uploaded by the company administrator in the My Account area. Let's click Save to ensure our changes are successfully saved.
Click on Save when you have made your selection.
-

In the Virtual Samples, is where we can choose the default image for the product's detail view for virtual sample ready products. We can select from the supplier's original image which is the image the supplier provided to ASI or we can have a logo or show text on any virtual sample enabled product.
Click the radio button for "Virtual Sample ready image with Logo from my Library," then click the "Upload a Logo" link. It is important to check the "Remove background color" checkbox first before uploading.
To Learn more about Creating and Using Virtual Samples, please click here to view the Virtual Samples Quick Step Guide.
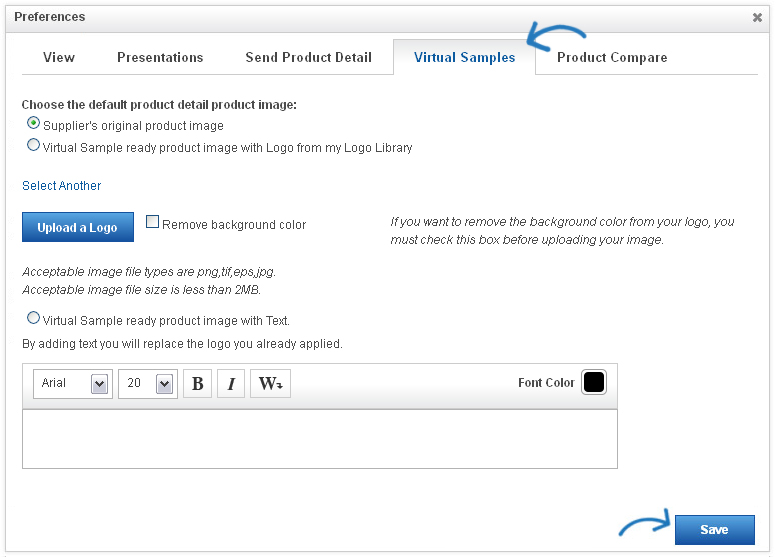
- Note: Virtual Samples will only display in the Details View.
-

The last tab, Product Compare, is where you can enable options for the PDFs of compared products. You can check the "Always Show Product Numbers" and the "Always Show Net Cost" checkboxes to display the information.
You are also able to upload upload a logo using the "My Logos" button and then align it using the options in dropdown. You can type information into the Header and Footer sections, as well as check the "Show Date" box and the "Show contact information" box.
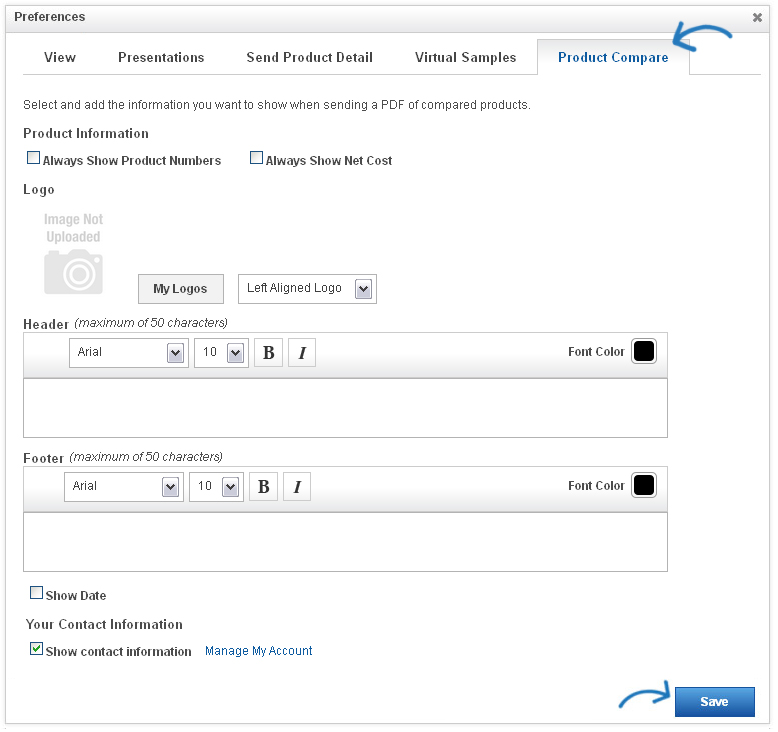
- Note: Click on the Manage My Account link to update your contact information.