ESPWeb: Using the Clipboard
In this guide you will learn how to use the Clipboard. To begin, use the menu below.
-

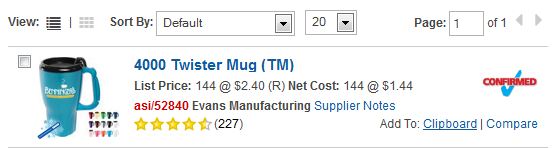
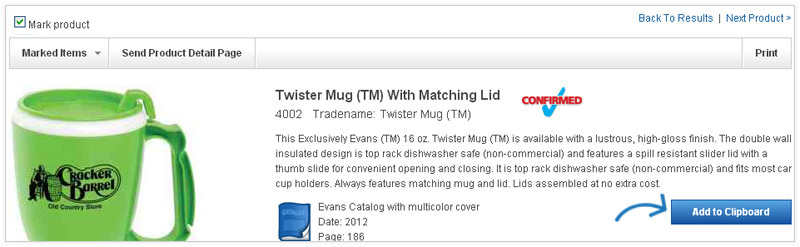
The Clipboard is a place where you can hold up to 250 items for up to 90 days. From a search, you can click on the Add to Clipboard link in any of the four views.
-

The Clipboard is a place where you can hold up to 250 items for up to 90 days. From a search, you can click on the Add to Clipboard link in any of the four views.

 Quick View
-

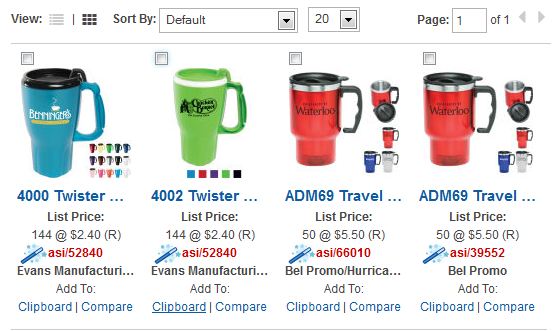
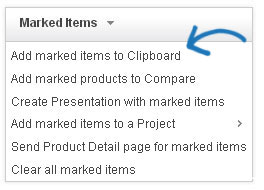
You can also place multiple items from the same search on the Clipboard.
To do this, mark the items and then click on the Marked Items button and select Add marked items to Clipboard from the dropdown menu. Click here for a demo!
For more information about marking items, please review the Marking Products Quick Step Guide.
-

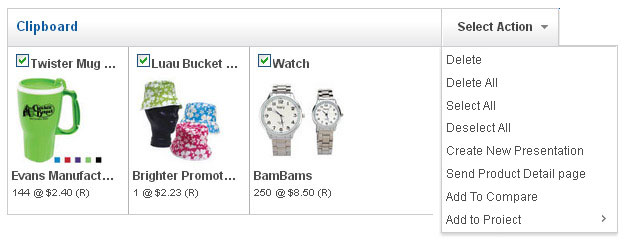
Click on the Clipboard button to open your saved items.

There is a check box to mark items, an image that you can access the quick view from, the supplier name and the minimum quantity and price. In the Clipboard, you can mark one item, check specific products, or use the Select Action button to Select All.
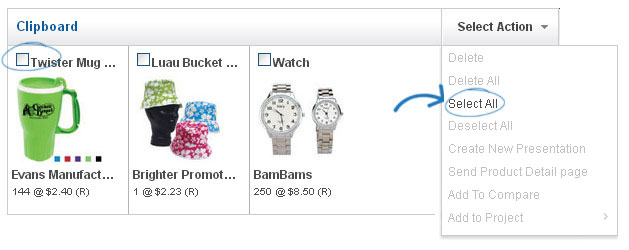
Once you have products selected, other actions will become available. The actions you can take on the clipboard are: Delete, Delete All, Select All, Deselect All, Create New Presentation, Send Product Detail Page, Add To Compare or Add to Project.