Notes Manager
In this guide you will learn how to add notes for suppliers in the Preferred Supplier & Notes Admin. You will also learn how to add notes for individual suppliers as well. To begin, use the menu below.
-
Notes Manager
The first step to creating notes into your ESP is to go to the My Applications and select Preferred Supplier & Notes Admin from the dropdown.

In the List Manager area, click on the Supplier Notes button.

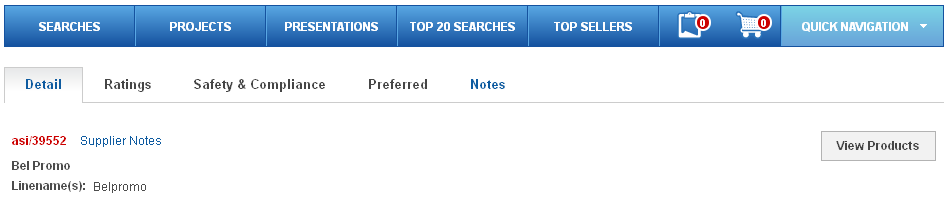
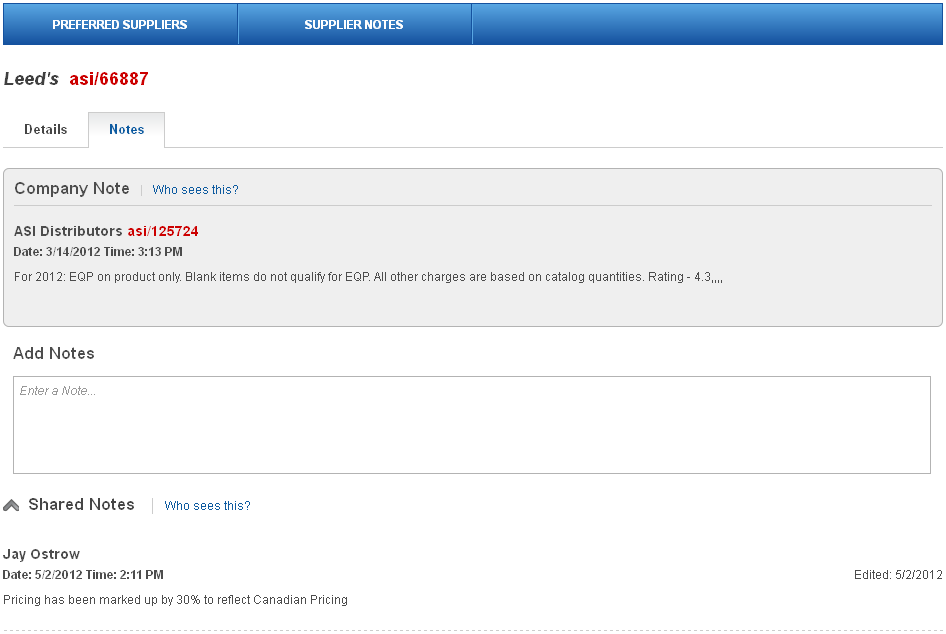
Click on the ASI Number of the supplier or the supplier’s name. In this area, you can edit or remove previously entered company notes, as well as delete existing shared notes.
-
Adding Individual Notes
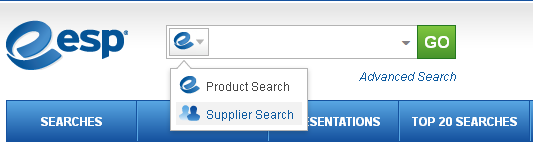
The first step to adding individual notes for suppliers in your ESP is to locate the supplier. You can use the "e" icon to switch to the Supplier Quick Search. To access the Supplier Advanced Search area, click on Searches and select Find a Supplier from the dropdown. For more information on how to search for suppliers, please review the Supplier Search Quick Step Guide.
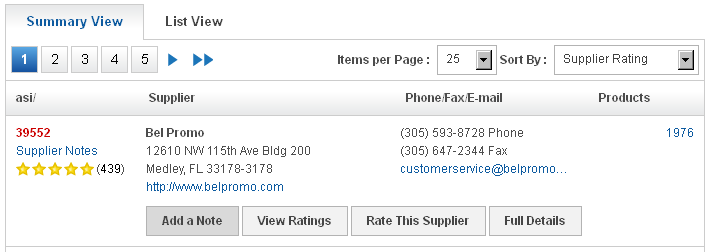
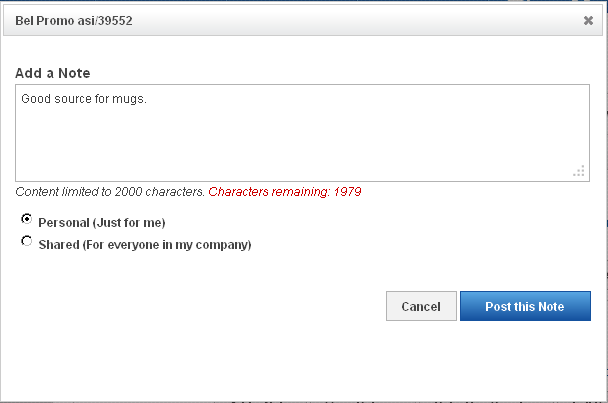
Click on the Add a Note button in the Supplier Summary section.
- In the Add Notes section, type your note. You have two options at below the Add Notes box. Personal notes are notes that will only be seen in your ESP. Shared notes will be available to all users of your company, but not to suppliers or users outside your company.
-
You are also able to click on the Notes link in the Supplier Detail View to view shared notes and edit or delete personal notes.