ESP Websites: Quick Launch
In this quick step guide you will learn how to set up your site in three quick steps.
-

When you are initially creating your site, you can use the site builder and quick launch to get your site up, active and ready for business in just a few minutes.
Click the dropdown menu in the "Getting Started" section and select your package.
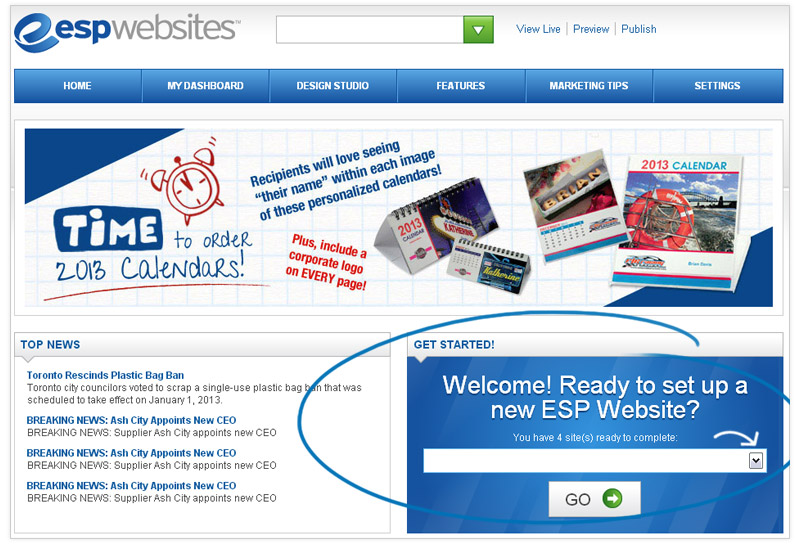
After selecting your package, click on Go.
-

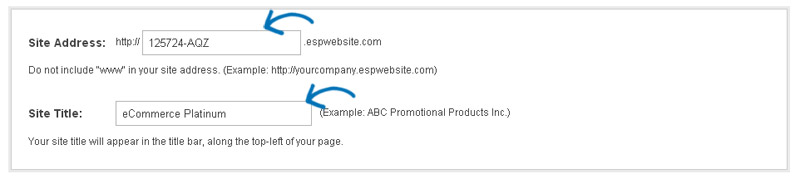
In Section A, Set Up Your Site, you can create your site address (domain name) and site title in the "Set up Your Site" Section. Do not include spaces, "www." or ".com" in the site address. Use proper spacing and capitalization in the Site Title.
-

In Section B, Upload Your Logo, you can add your company logo by clicking the "browse" button in the "Upload Company Logo" section.
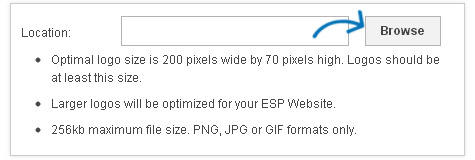
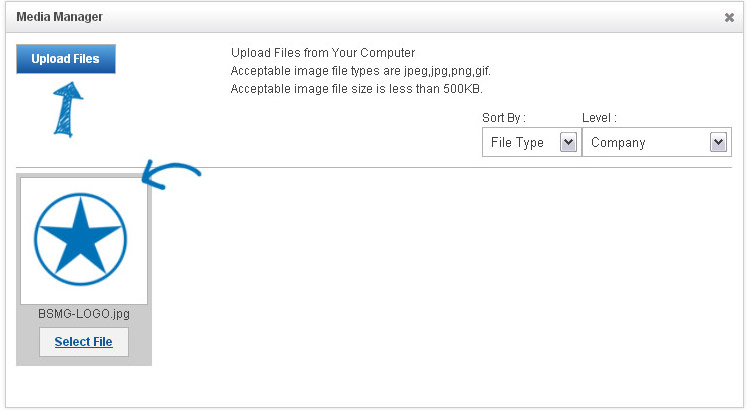
The Media Manager will open and you can select an image.
If the image you would like to use is not yet in the Media Manger, click on the "Upload Files" button and browse your computer for an image.
You will see a preview of your image in the Logo Preview window.
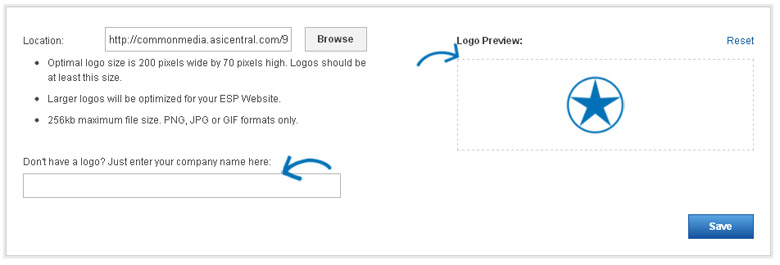
If you do not have a company logo, type your company name into the last field in this section. A preview of your typeset logo will appear in the Logo Preview window.
Click Save when you are finished.
-

In Section C, Company Info section, you can enter your company information, such as your Company name, address, and contact information.
Enter Your Company Info
There is a dropdown for available addresses, which will enable you to use an address entered by any user in your company. Select an address or enter your information, and then use the checkboxes to select which information you would like to display live on your site.

After you have finished making changes, click on the Save Address button in this area.
- Note: You must enter a phone number and email, even if you choose not to display them on your site
-
Company Social Networking Links
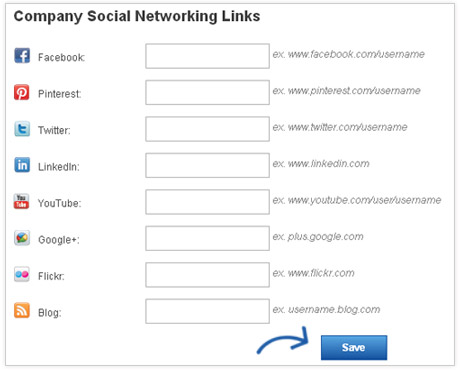
The last section in the Info tab is the Company Social Networking Links area.
In the Company Social Networking Links area, you can copy and paste links into appropriate fields. You can add links for:
- YouTube
- Google+
- Flickr
- Your blog
Click on Save after entering the URL

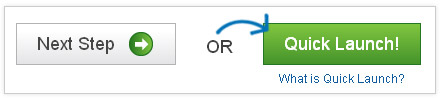
At this point, if you feel you are ready to get your site up and running, click on the Quick Launch button. If you are not ready to Quick Launch, please refer to the Building Your Site in 3 Steps Quick Step Guide.
Preview
The preview will open and enable you to view your complete site before it goes live.
After looking over your site, if you need to make further changes, click on the "Go Back" button or click on "Publish" if you are ready to go live.

After publishing, your site will be up, active and ready for business!
Where did that template come from! To change your Template and Colors, click here.